How to Make Mickey Tie Dye Shirts
by DVP Lisa Reese
|
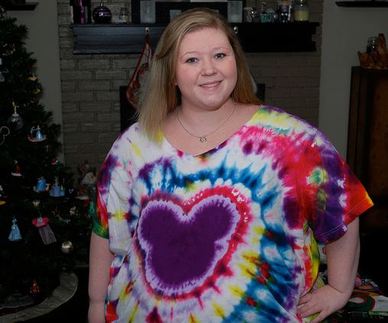
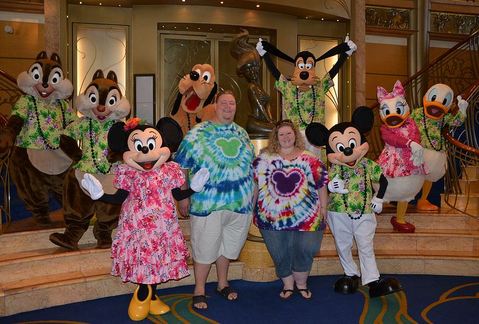
Have you been in Disney World, Disneyland or on the Disney cruise and spotted a Disney fan sporting a fabulous Mickey Tie Dye shirt? Have you ever wondered how they did it? Well if you follow these instructions you can make some of your very own. You are going to need some supplies:
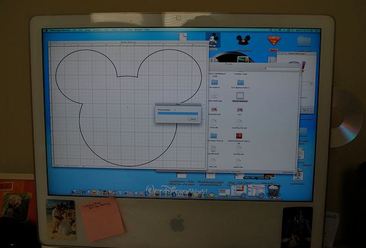
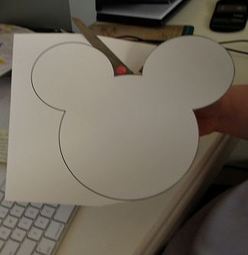
I like to purchase my supplies at Dharma Trading Co. Step 1 - Print out a template for your Mickey head. I have a large adult size and a smaller child's size. |
|
|
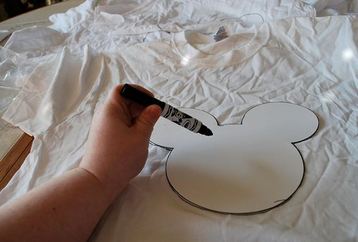
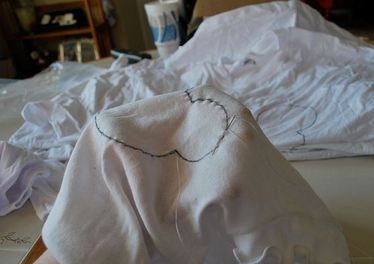
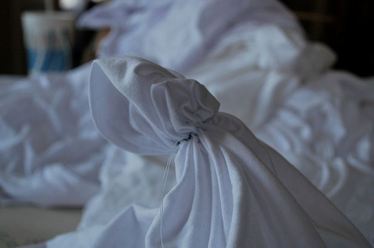
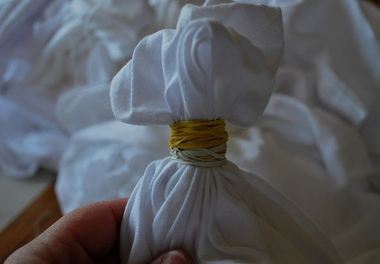
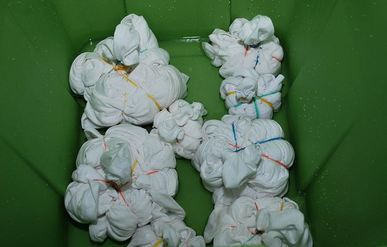
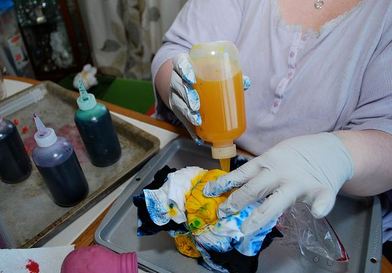
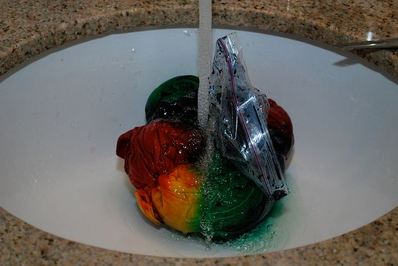
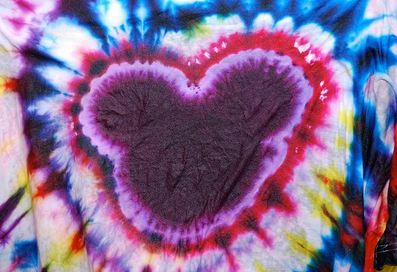
Step 3 - Sew basting stitch with wax dental floss around the traced Mickey head shape. I like to start and stop under the right ear where it meets the “head”. Step 4 - Pull the floss super tight and tie it on a knot. Make sure the Mickey Head area is not bunched up. Step 5 - Use rubber bands and band the area where the floss is. When you think it tight enough, make it tighter. When you think you have enough rubber bands, use another one. The key to a good shape is tight rubber bands. Step 6 - Mix up Soda Ash with water in large container. Step 7 - Mix dye with Urea/water mix in individual squeeze bottles. Step 8 - Using puckered Mickey, grabbing where the rubber bands are, start twisting the shirt. You want to roll it up so it resembles a cinnamon bun or danish. Secure with 4 or 5 rubber bands. Step 9 - Soak shirts for about an hour in the Soda Ash solution. Make sure every part of the shirt is wet. Step 10 - Once shirts are soaked, take then out and ring the shirts a bit. Pull Puckered Mickey up and take a zip locked baggie with a small corner cut off and pull Mickey through. Wrap inside baggie with rubber band around the cluster of rubber bands to hold it. This lets your single out the area where the Mickey head will be. Step 11 - Pick the color for your Mickey head and squeeze a small amount of dye onto the Mickey area. Close zip lock so your dyed Mickey head is separated. Step 12 - Now pick a few coordinating colors to dye the large areas. I usually do it in thirds. Step 13 - Place each dyed shirt in it’s own bag (trash or grocery store bag). Then place all bags into one large bag. I make 12 - 15 shirts at a time. Step 14 - Put bag in a warm area for at least 24 hours. Seriously, this is an important step. Soak the shirts for 24 hours. Step 15 - Take a shirt out of the bag and cut rubber bands. Cut the floss and unfold shirt. Rinse each shirt until water runs clear. Step 16 - Wash shirts using a mild detergent or Dharma Professional Textile Detergent. Twice. Final Step - Wear your Mickey Tie Dye Proudly! |
